
Picture this: dusk is falling, you’re on a country lane, and your reactive spaniel twists sideways, slips the harness, and vanishes into the hedgerow. It happens faster than you can react, and in low light, the consequences can be devastating. Reflective harnesses exist precisely to reduce that risk, keeping your dog visible to drivers and traceable to you when natural light fails. This guide covers everything you need: choosing the right harness type, fitting it correctly, using it safely across different light conditions, and spotting wear before it becomes a hazard. Whether your dog pulls, lunges, or is a seasoned escape artist, you’ll finish this guide with a clear, practical plan.
Table of Contents
- What you need before you start: tools and harness types
- How to fit and adjust a reflective harness correctly
- Step-by-step reflective harness usage: safe walks, day and night
- Troubleshooting and common mistakes with reflective harnesses
- A fresh perspective: why fit stays king, not just reflectiveness
- Safer adventures start now with secure reflective harnesses
- Frequently asked questions
Key Takeaways
| Point | Details |
|---|---|
| Visibility saves lives | Reflective harnesses dramatically increase a dog’s safety on walks in low-light conditions. |
| Fit is essential | The right harness fit prevents escapes and ensures the dog’s comfort and mobility. |
| Dual approach for darkness | Combine reflective material with an LED for optimal visibility at night. |
| Check for wear regularly | Regular inspection keeps the harness safe and effective, reducing the risk of failure. |
| Customise for your dog | Choose harness type and adjustments based on your dog’s breed, behaviour, and specific needs. |
What you need before you start: tools and harness types
Before you buy anything, it helps to understand what actually makes a reflective harness worth wearing. Not all reflective stitching is equal. High-quality harnesses use retroreflective materials, which bounce light directly back to its source, making your dog visible to oncoming headlights even at distance. Reflective materials enhance visibility up to 300 to 500 feet, increasing detection distance threefold compared with non-reflective gear. That is a significant margin of safety on any road or shared path.
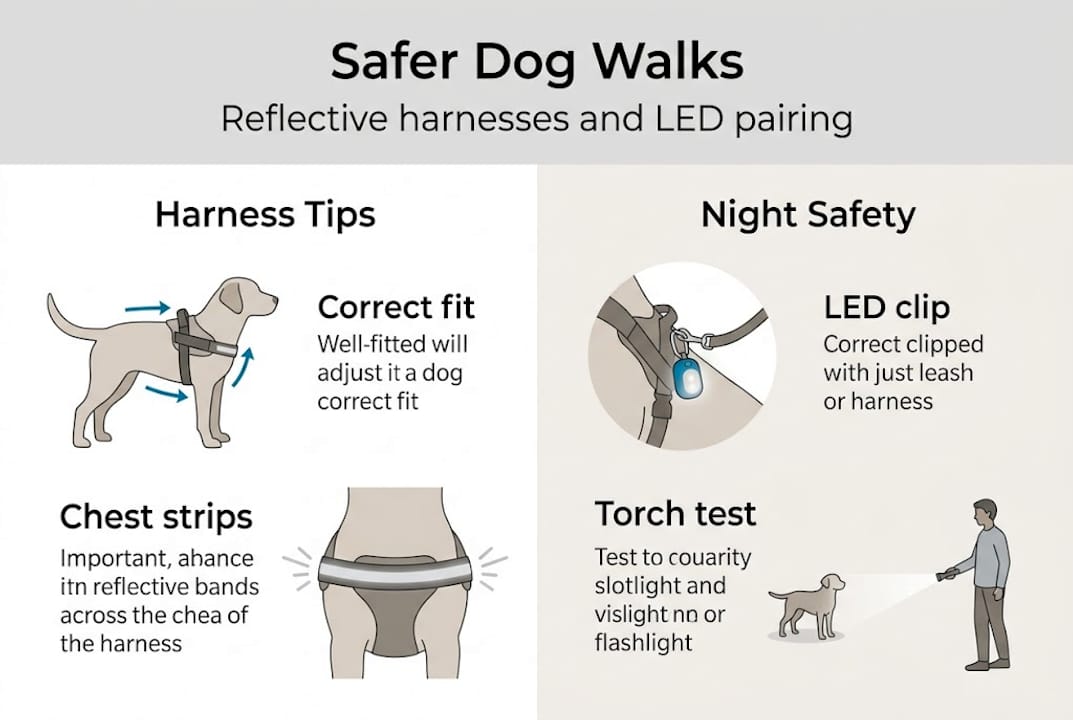
Reflective strip placement matters just as much as the material itself. Strips along the chest, back, and sides create a silhouette that reads as “dog” to a driver’s brain instantly. A single strip along the spine is far less effective.
Harness types vary considerably, and harness design affects stride and movement differently by breed. Here is a quick comparison to help you choose:
| Harness type | Best for | Key benefit |
|---|---|---|
| Y-shape | Slim, deep-chested breeds | Freedom of shoulder movement |
| Chest-strap (H-style) | Stocky, muscular dogs | Even pressure distribution |
| Vest style | Small or anxious dogs | Gentle, full-body contact |
| Front-clip | Pullers and reactive dogs | Redirects forward momentum |
For escape-prone dogs, look at escape-proof harnesses that combine dual-clip attachment points with a secure back panel, making it far harder for a dog to reverse out under pressure.
Beyond the harness itself, gather these items before your first walk:
- A well-fitted, reflective leash to complement the harness
- A clip-on LED light for total-darkness conditions
- An up-to-date ID tag with your mobile number
- A small torch to check reflectivity before setting off
Pro Tip: Fit and adjust the harness in full daylight before attempting a dusk or night walk. Daylight lets you see exactly where straps sit, whether the reflective strips are unobstructed, and whether your dog moves freely without restriction.
How to fit and adjust a reflective harness correctly
Once you have all the right gear, it is vital to fit the harness correctly because improper fitting defeats the purpose entirely. A harness that gaps at the chest or sits loose around the girth is an escape waiting to happen, regardless of how many reflective strips it carries.
Start by measuring your dog accurately. You need two measurements: the neck circumference (taken just below where a collar would sit) and the chest girth (the widest point behind the front legs). Always measure with a soft tape and add roughly two fingers of breathing room. Size charts vary between brands, so measure fresh each time rather than guessing from a previous purchase.
Follow these steps to fit the harness:
- Lay the harness flat and loosen all straps before putting it on your dog.
- Slip the neck loop over your dog’s head and position the chest plate centrally on the sternum.
- Bring the belly strap under and clip it on the opposite side, then tighten gradually.
- Check the back strap: it should sit flat without twisting or riding up toward the neck.
- Run two fingers under every strap. If you cannot fit two fingers, loosen slightly. If you can fit four, tighten.
- Ask your dog to sit, stand, and shake. Watch for any strap that shifts position or causes the harness to rotate.
“Proper fit and visibility together can reduce accidents by over 60%.” This figure underlines why reflectivity alone is not enough; the harness must also stay exactly where you positioned it.
Check specifically for chafing risk at the armpit area (the axilla), where many harnesses rub during longer walks. Zero-chafe air-mesh panels help significantly here. Also check that no reflective strip is folded under a strap, as this blocks the very visibility you are relying on.
Pro Tip: Before your first outdoor walk, put the harness on and let your dog wear it indoors for 20 minutes. Watch whether they try to wriggle free, scratch at it, or show signs of discomfort. This indoor test is especially important for escape-prone or reactive dogs who may bolt the moment they sense the harness loosening outside.
Step-by-step reflective harness usage: safe walks, day and night
With the fit dialled in, let’s detail how to use a reflective harness to its full safety potential across different conditions.
Before every walk, run through this checklist:
- Confirm the harness is fastened and all clips are fully engaged.
- Attach the leash to the correct ring (front for reactive dogs, back for general walking).
- Check that the ID tag is secure and legible.
- If walking after dusk, clip the LED light to the harness D-ring.
- Shine a torch at the harness from two metres away to confirm the strips reflect brightly.
Light conditions change what your harness needs to do. Here is how effectiveness shifts:
| Condition | Reflective only | Reflective + LED | No reflectivity |
|---|---|---|---|
| Bright daylight | High visibility | High visibility | Moderate visibility |
| Dusk / low light | Good visibility | Excellent visibility | Poor visibility |
| Full darkness | Limited visibility | Excellent visibility | Virtually invisible |
| Fog or rain | Reduced effectiveness | Good visibility | Dangerous |
Reflective material alone is insufficient in total darkness; pairing it with an LED delivers the maximum safety margin. This is particularly relevant for rural walks where street lighting is absent.
For reactive or escape-prone dogs, use the front-clip ring during high-stimulation environments. A front attachment redirects a lunge sideways rather than allowing the dog to generate full forward momentum, which reduces the force on both the harness and your shoulder. If your dog is known to reverse out of harnesses, a dual-clip V-ring system adds a second anchor point that makes slipping almost impossible.
Pro Tip: Shine a torch at your dog’s harness before leaving the driveway. If the strips do not light up brightly from two metres, the reflective material may be dirty or worn and needs cleaning or replacing before the walk proceeds.
Troubleshooting and common mistakes with reflective harnesses
Having explained the process, it is just as important to know what can go wrong and how to correct it quickly.
The most common mistakes owners make include:
- Leaving straps too loose after a wash, forgetting the harness stretches slightly when wet
- Incorrect placement of the chest plate, sitting too high on the neck rather than flat on the sternum
- Skipping the LED for total-darkness walks, relying solely on reflective strips
- Not checking reflectivity after muddy walks, when dirt coats the strips entirely
- Choosing by size alone without accounting for breed body shape, particularly deep-chested or barrel-chested dogs
If the harness slips sideways during a walk, the belly strap is almost always the culprit. Stop, re-centre the chest plate, and tighten the belly strap by one notch. If rubbing appears behind the front legs after a longer walk, the axilla gap on the harness is too narrow for your dog’s build; look for a Y-shape design that keeps the straps away from that area entirely.
When a dog resists wearing the harness, pair it with high-value treats and practise short sessions of putting it on and taking it off without actually going for a walk. This breaks the association between harness and the anxiety of an outing.
“No harness is universally best; fit must match the individual dog’s body and behaviour.” This is why choosing escape-proof harnesses should always start with your specific dog’s measurements and movement patterns, not a generic size guide.
Check reflective strips weekly. Run a damp cloth over them and shine a torch to confirm brightness. Worn strips look dull and grey rather than sharply white or silver under light. Replace the harness if strips cannot be restored with cleaning, because a false sense of security is more dangerous than knowing visibility is limited.
A fresh perspective: why fit stays king, not just reflectiveness
Most advice about reflective harnesses focuses almost entirely on the reflective element, as though slapping some silver stitching on any harness solves the problem. We think that misses the point entirely.
We have seen dogs escape from high-visibility harnesses in broad daylight, not because the harness failed visually, but because it was the wrong shape for the dog’s body. A barrel-chested Staffordshire Bull Terrier can reverse out of a standard H-style harness with almost no effort if the chest plate does not sit flush. A greyhound’s narrow head and deep chest make most off-the-shelf options genuinely dangerous under pressure.
Reflectiveness is a passive feature. It does nothing if the harness is not on the dog. Security and adjustability are active features that keep the harness where it belongs, which is the only position where any of its other qualities matter. Prioritise a harness with multiple adjustment points, breed-appropriate geometry, and a proven escape-prevention mechanism. Then look at reflective strip coverage. Real-world harness solutions that combine both elements exist, but you will only find them by measuring your dog carefully and matching the design to their specific build and behaviour.
Safer adventures start now with secure reflective harnesses
Everything covered in this guide, from strip placement and harness geometry to fitting steps and LED pairing, points toward one practical outcome: your dog needs a harness built for both security and visibility, not one that compromises either.
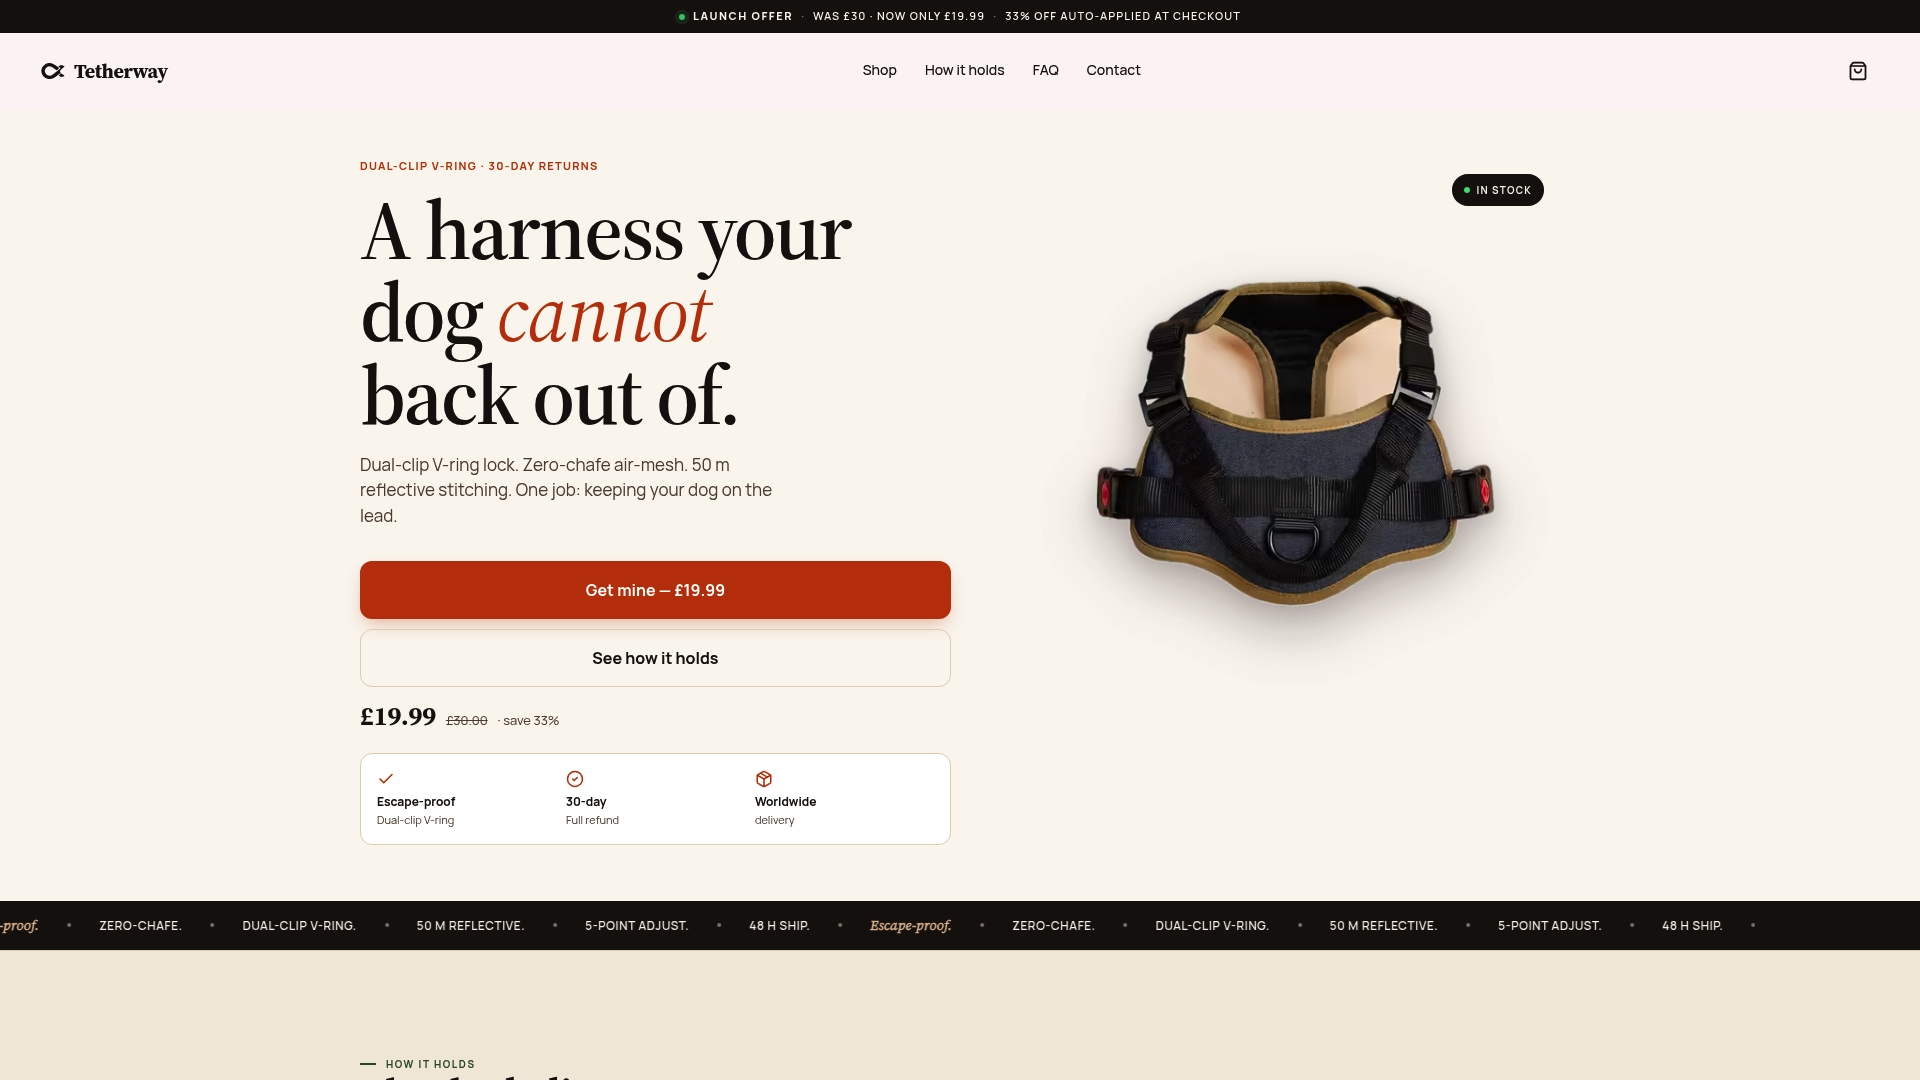
At Tetherway, we design browse escape-proof reflective harnesses with dual-clip V-ring locking, zero-chafe air-mesh panels, and full-perimeter reflective stitching, precisely to meet the standards this guide describes. Every harness ships with a 30-day return policy and free UK returns, so you can test the fit at home without risk. For a closer look at our materials and construction, see product details and images before you order. If you have a dog with unusual proportions or specific behavioural challenges, get in touch and we will help you find the right fit.
Frequently asked questions
What is the proper way to clean a reflective dog harness?
Hand-wash with mild soap, rinse thoroughly, and air dry away from direct heat to preserve both the reflective strips and the harness structure.
Can a reflective harness completely prevent my dog from escaping?
No harness is 100% escape-proof; fit must match your dog’s individual body shape and behaviour for genuine security.
Is a reflective harness enough for night walks in the countryside?
Reflective alone is insufficient in total darkness; always pair it with a clip-on LED light for rural or unlit routes.
How often should I check my dog’s harness for wear?
Inspect the harness, paying close attention to reflective strips and stitching, every week before walks to catch any deterioration early.